Couldn't load pickup availability
- Regular price
- £24.99
- Sale price
- £24.99
- Regular price
-
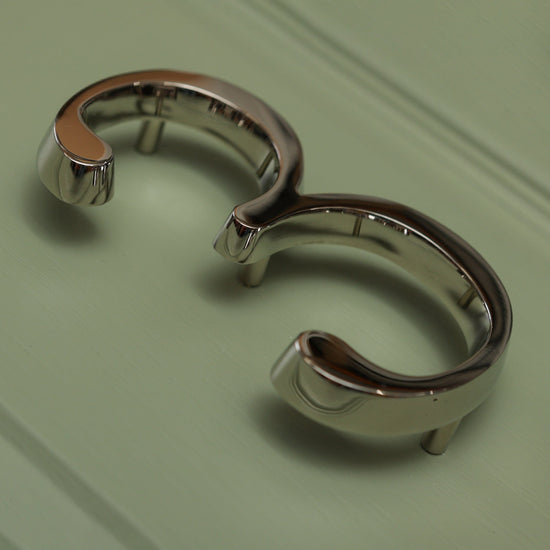
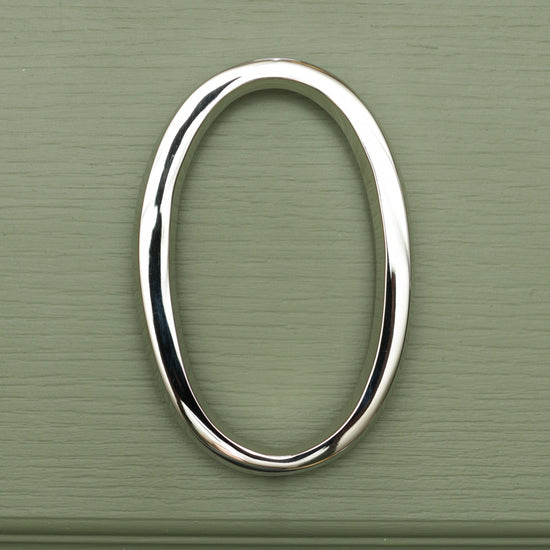
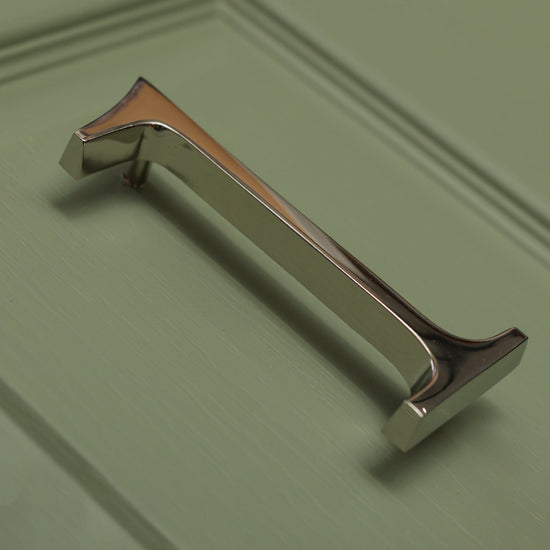
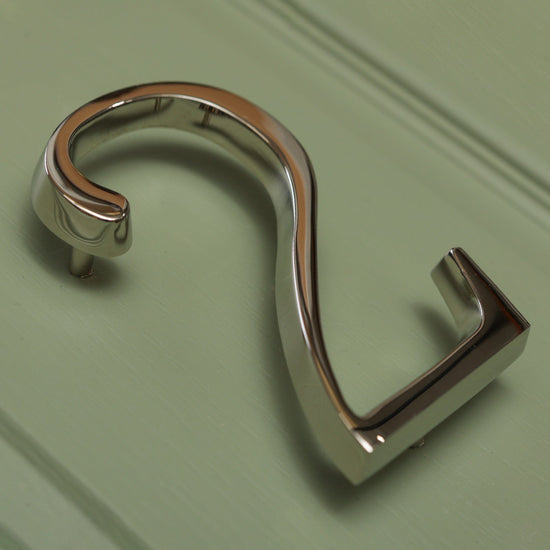
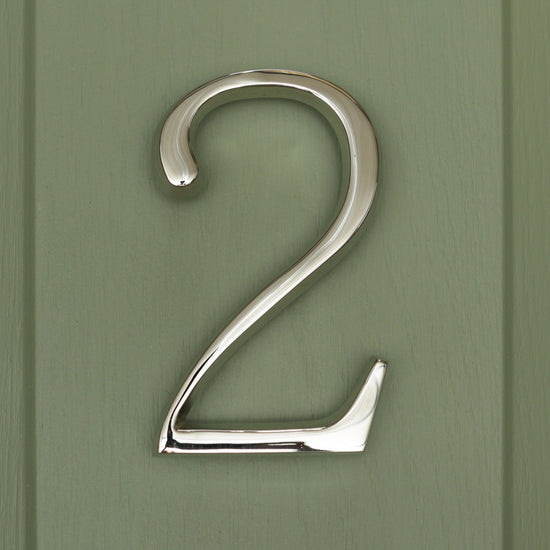
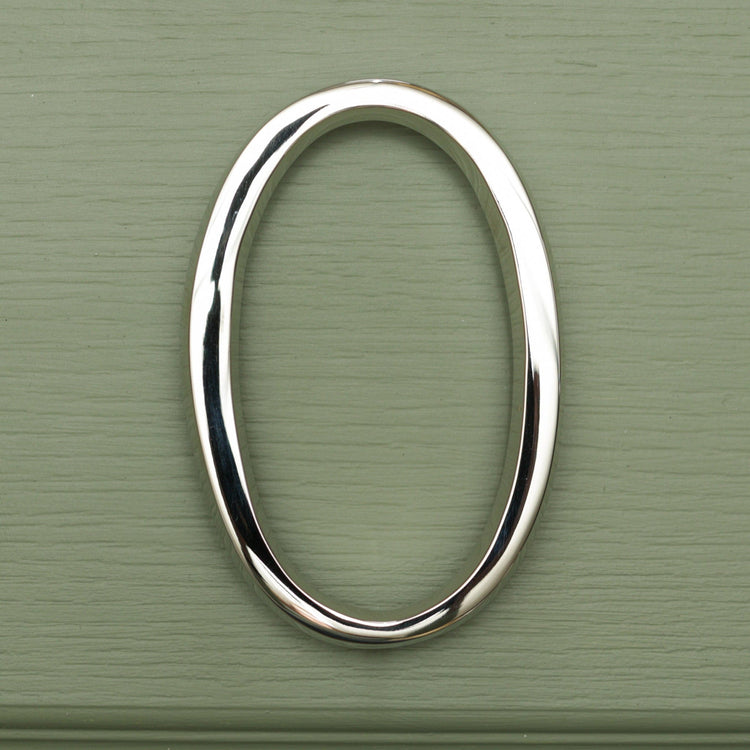
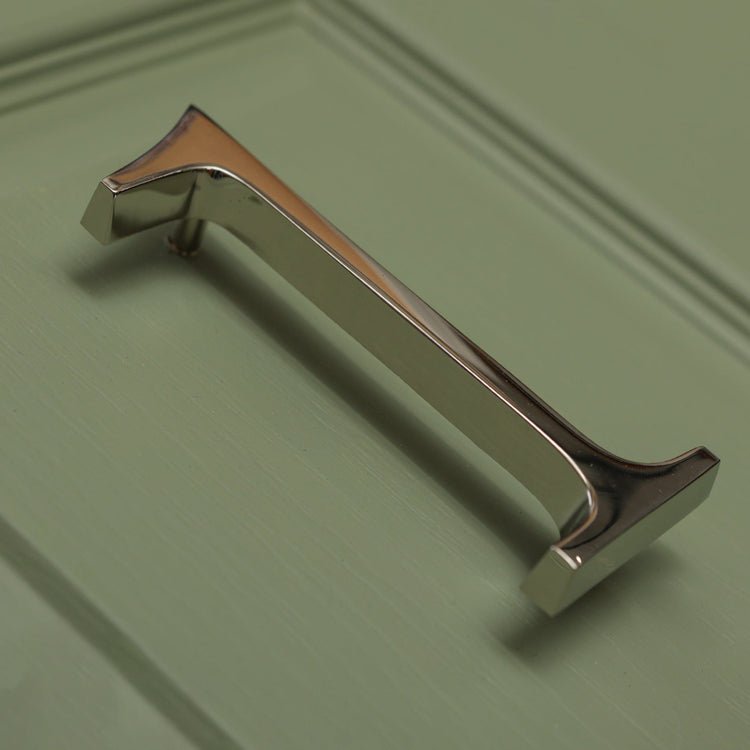
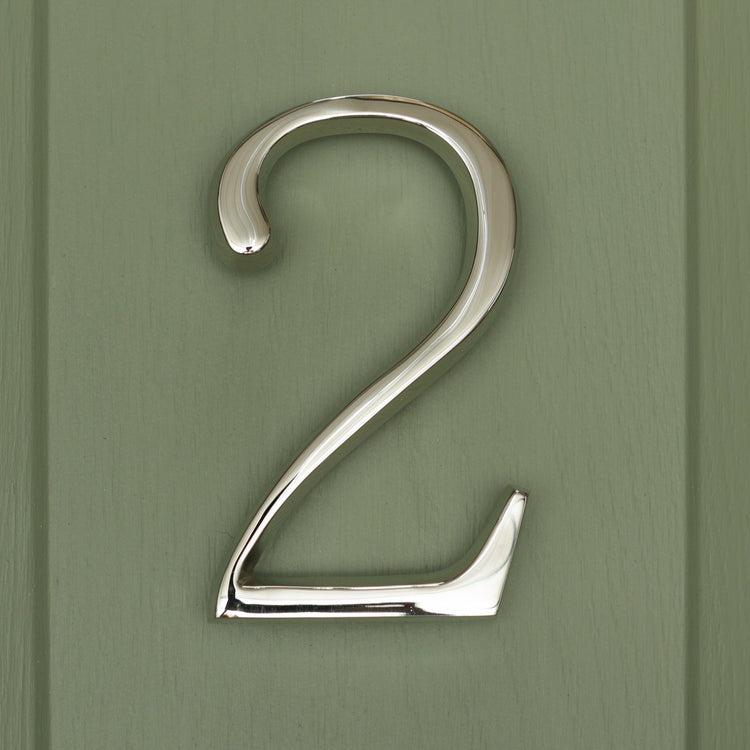
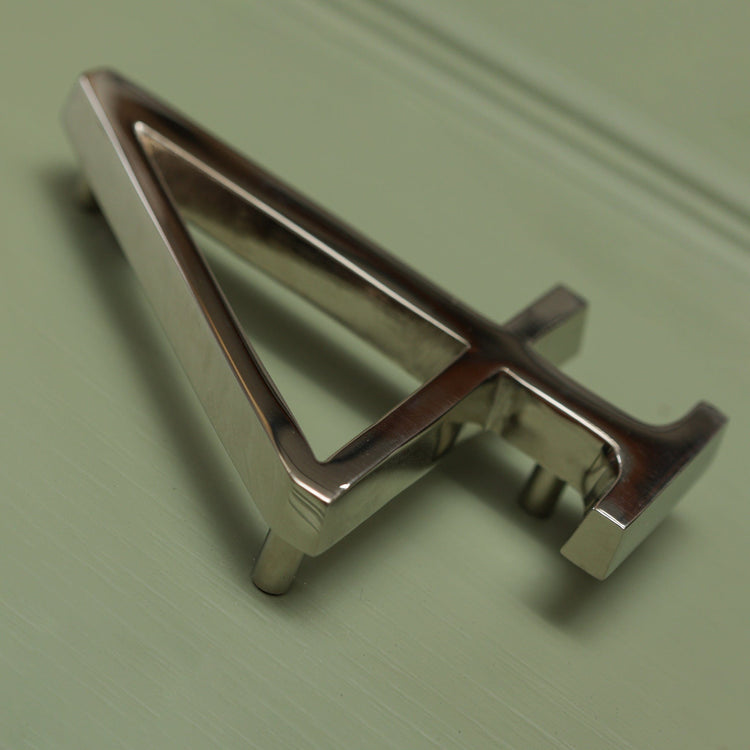
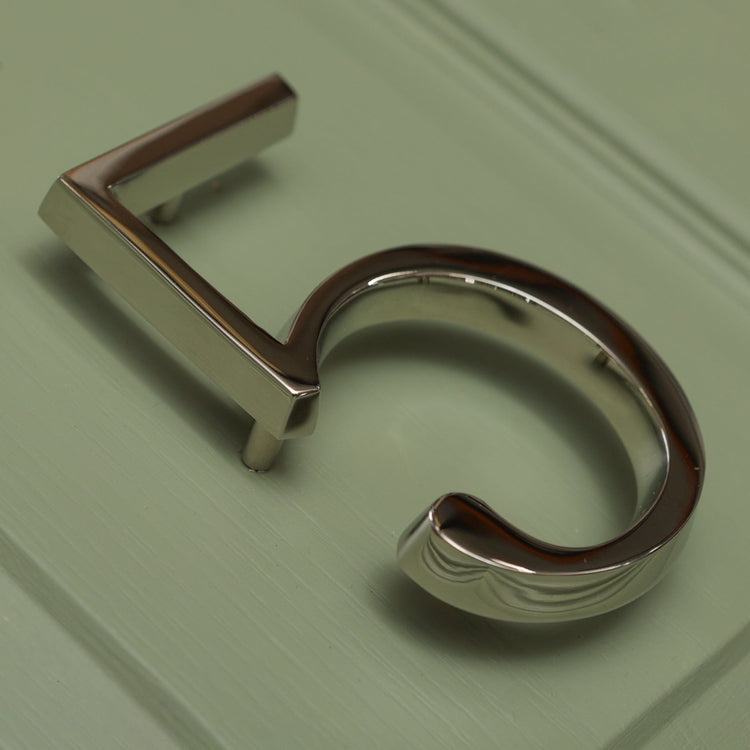
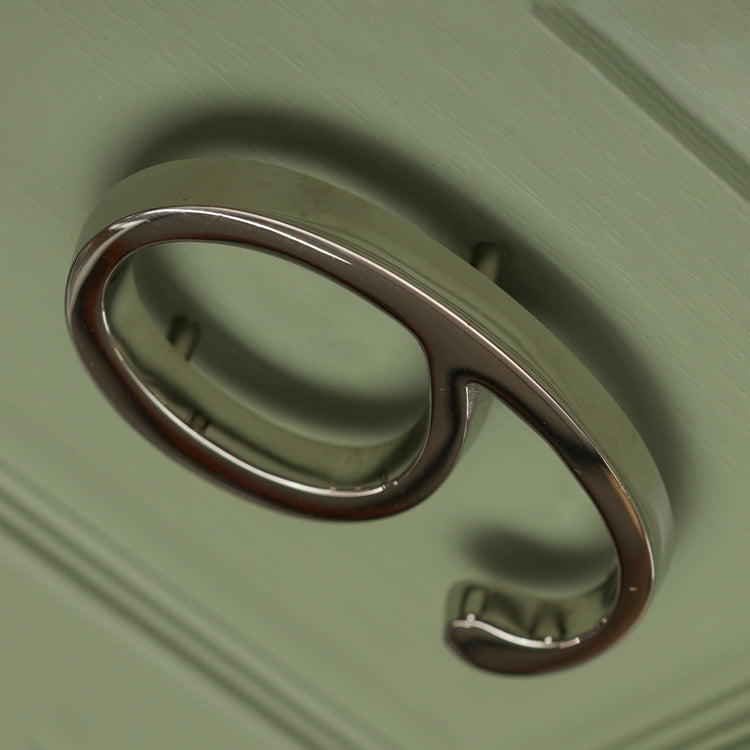
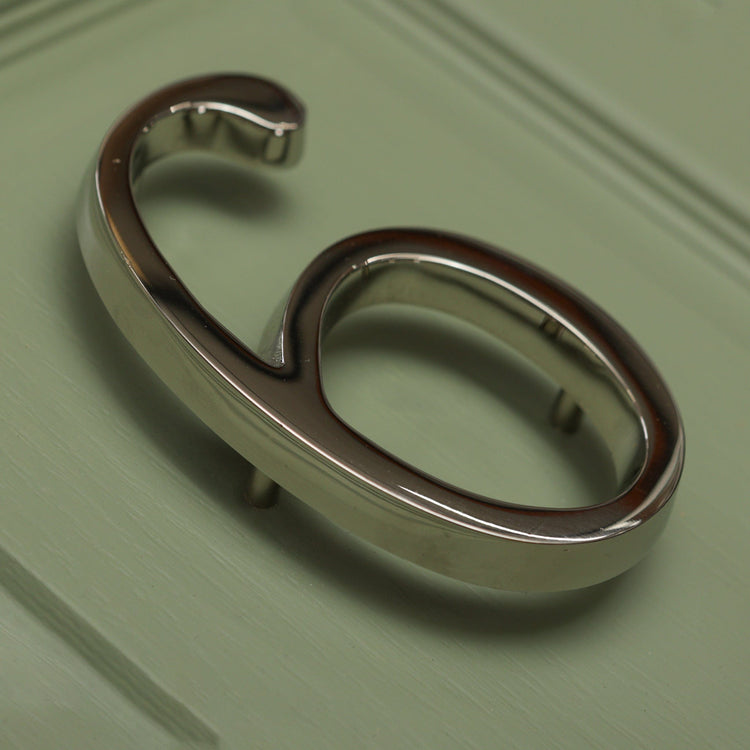
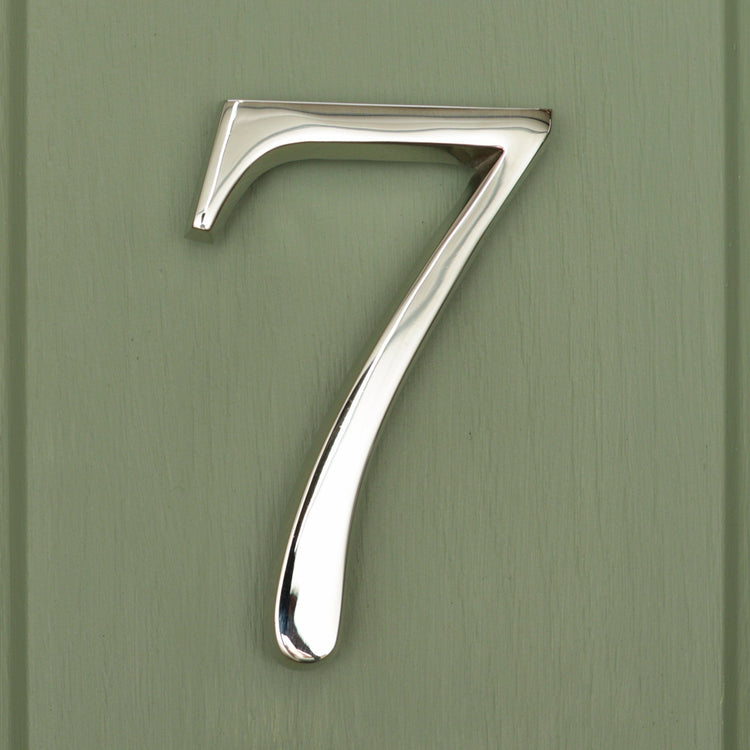
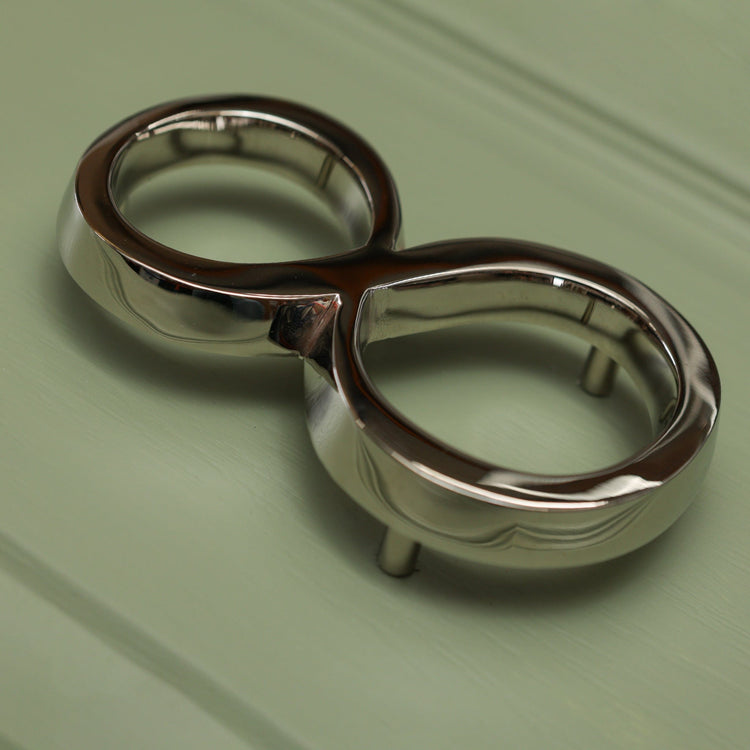
Premium Floating Plain House Numbers in Nickel Finish 0-9
Premium Floating Plain House Numbers in Nickel Finish 0-9
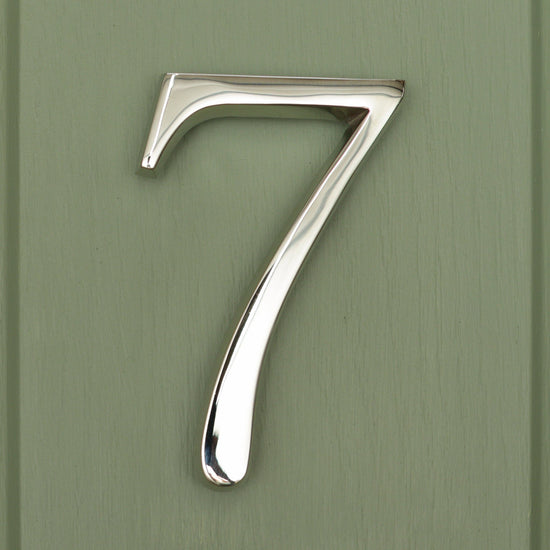
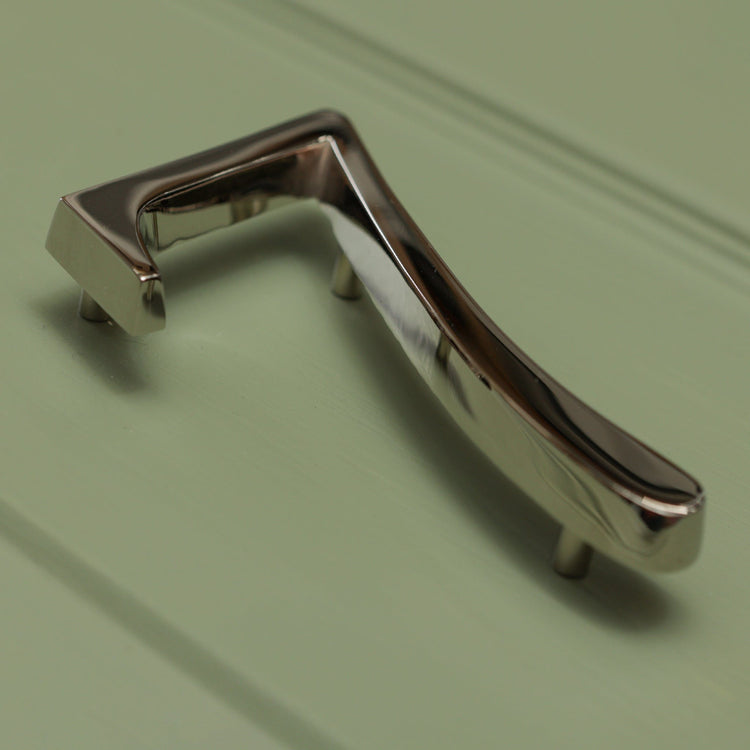
Elevate your home’s curb appeal with our Premium Floating Plain House Numbers in Nickel Finish. Crafted from durable, weather-resistant brass, these numbers combine elegance and functionality, providing a timeless, sophisticated look for any home exterior. Each number, ranging from 0-9, features precise engraving for a sharp, clear display and is finished in a rich, nickel-inspired coating, offering both modern flair and traditional charm.
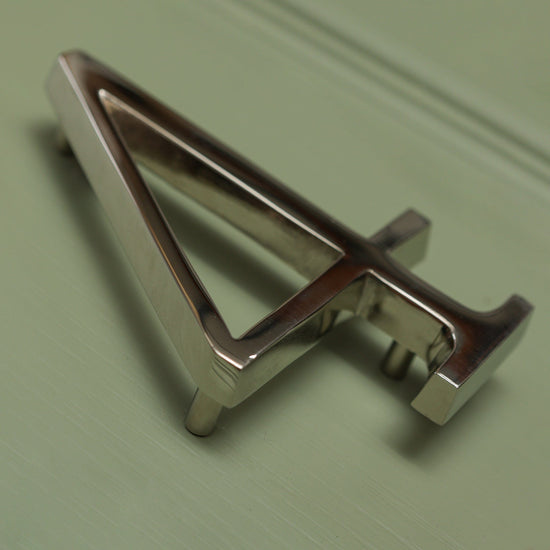
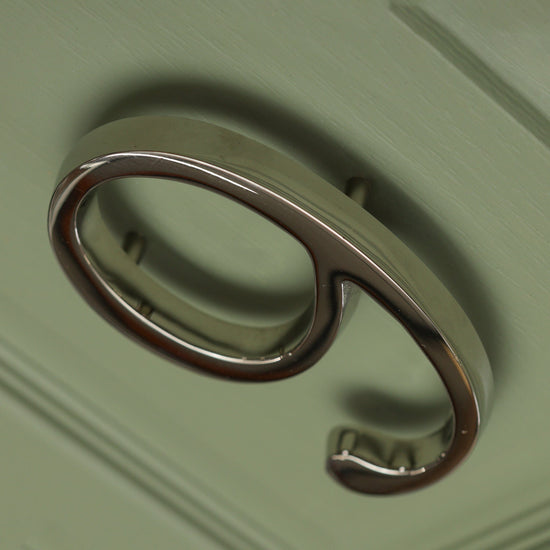
Designed with a unique floating mount, these house numbers create a subtle 3D shadow effect, adding depth and distinction to your property. Easy to install and built to withstand the elements, they’re perfect for enhancing your address’s visibility and style.
Whether you’re updating your home or completing a new build, these premium floating numbers offer a sleek and polished way to make a lasting first impression. Available in numbers 0-9 for complete customisation.
Please note: The door numbers may differ slightly in colour from our door knockers.
Please note: The length of the screw once screwed into the number and the spacer is inserted is 18mm
| Height | Width | Depth | |
| 0 | 129mm | 87mm | 11mm |
| 1 | 127mm | 50mm | 11mm |
| 2 | 129mm | 76mm | 11mm |
| 3 | 128mm | 71mm | 11mm |
| 4 | 129mm | 85mm | 11mm |
| 5 | 129mm | 81mm | 11mm |
| 6 | 129mm | 77mm | 11mm |
| 7 | 129mm | 77mm | 11mm |
| 8 | 128mm | 79mm | 11mm |
| 9 | 129mm | 77mm | 11mm |
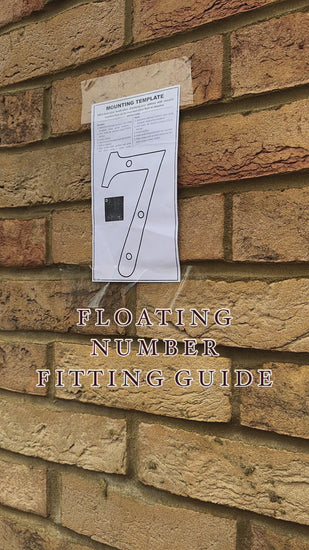
MOUNTING TEMPLATE
Add a decorative touch when displaying your address with versatile numbers that can be mounted either flush or elevated.
INSTRUCTIONS:
Elevated:
1. Determine desired location and, using template, mark screw location.
2. Drill holes for anchors using a 7/32 drill bit.
3. Install anchors.
4. Insert end of threaded rod into number.
5. Slide on spacers.
6. Align screws with anchors and press into place using a rubber mallet.
Flush:
1. Determine desired location and, using template, mark screw location.
2. Drill holes for anchors using a 7/32 drill bit.
3. Install anchors.
4. Insert end of threaded rod into number.
5. Align screws with anchors and press into place using a rubber mallet.